




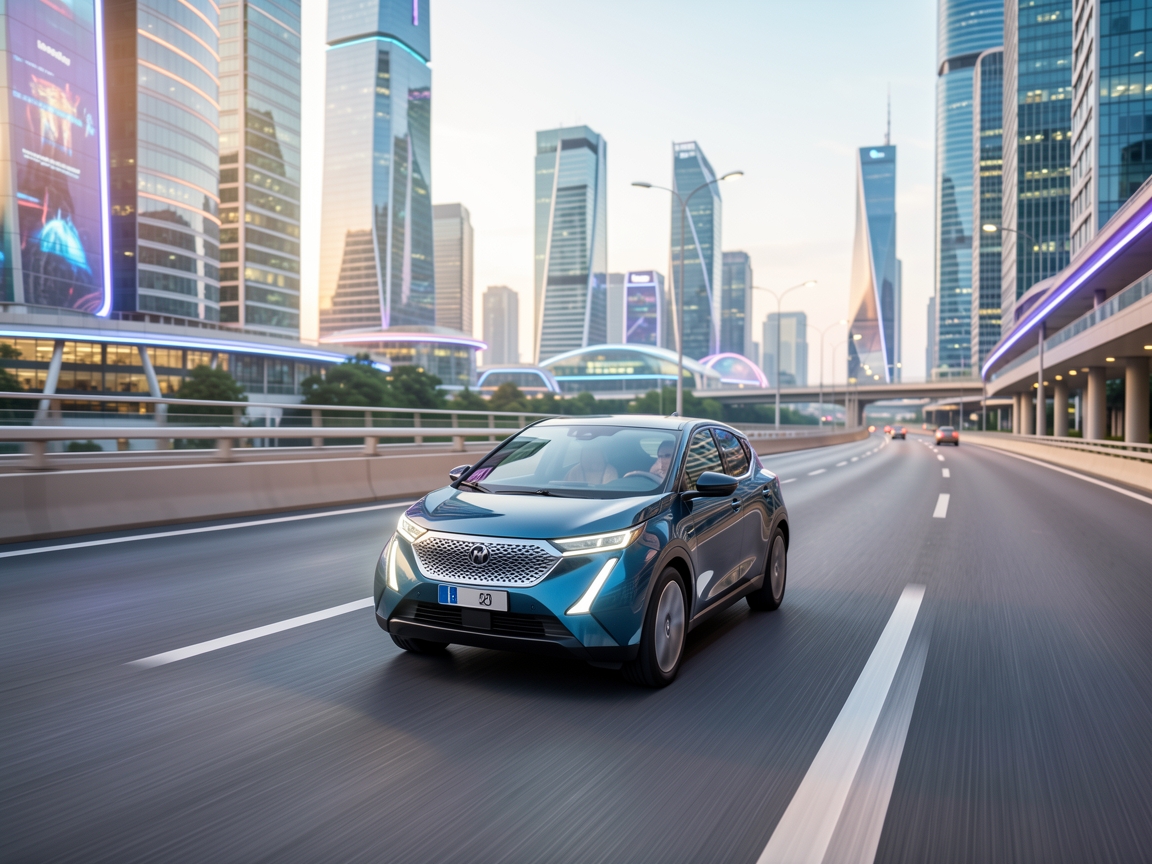



บทนี้จะพาคุณสร้าง ระบบเจนภาพฟรี ด้วย Cloudflare Workers + Workers AI แบบวางโค้ดแล้วใช้งานได้ทันที รองรับหลายโมเดล (FLUX / SDXL) และเรียกผ่าน curl หรือ AI Agent ก็ได้
1) สิ่งที่ต้องเตรียม
- บัญชี Cloudflare + เปิดใช้งาน Workers AI (Binding ชื่อ
AI) - สร้าง Worker ใหม่ (เช่นชื่อ
image-gen) - ผูกโดเมน/route ให้ Worker (เช่น
img.yourdomain.workers.dev)
2) โค้ด Worker — วางแล้ว Deploy ได้เลย
กด คัดลอก มุมขวาบนของบล็อกโค้ด แล้ววางในไฟล์ worker.js ของ Cloudflare Worker
export default {
    async fetch(request, env) {
        if (request.method !== "POST") {
            return new Response(JSON.stringify({ error: "Use POST method" }), {
                status: 405,
                headers: { "Content-Type": "application/json" }
            });
        }
        try {
            const body = await request.json();
            const result = await generateImage(body, env);
            if (!result.success) {
                return new Response(JSON.stringify(result), {
                    status: result.status || 500,
                    headers: { "Content-Type": "application/json" }
                });
            }
            return new Response(result.data, {
                headers: {
                    "Content-Type": result.contentType,
                    "Cache-Control": "no-cache"
                }
            });
        } catch (err) {
            return new Response(JSON.stringify({ error: err.message }), {
                status: 500,
                headers: { "Content-Type": "application/json" }
            });
        }
    }
};
async function generateImage(body, env) {
    const { prompt, model = "klein-4b", aspect_ratio = "1:1", return_type = "image", width: customWidth, height: customHeight, num_steps, seed = Math.floor(Math.random() * 1000000) } = body;
    if (!prompt) return { success: false, error: "Prompt is required", status: 400 };
    if (!env.AI) return { success: false, error: "Binding Error", message: "ไม่พบ env.AI กรุณาตรวจสอบว่าได้ Add Binding 'AI' ใน Worker Settings แล้ว", status: 500 };
    const isTransparentMode = return_type === "transparent";
    const finalPrompt = isTransparentMode ? `${prompt}, isolated on pure solid white background, clean sharp edges, studio lighting, no ambient background` : prompt;
    const modelMap = { "dev": "@cf/black-forest-labs/flux-2-dev", "klein-9b": "@cf/black-forest-labs/flux-2-klein-9b", "klein-4b": "@cf/black-forest-labs/flux-2-klein-4b", "schnell": "@cf/black-forest-labs/flux-1-schnell", "lightning": "@cf/bytedance/stable-diffusion-xl-lightning" };
    const selectedModelPath = modelMap[model] || modelMap["klein-4b"];
    const isFlux = selectedModelPath.includes("flux");
    const ratioMap = { "1:1": { flux: [1024, 1024], sdxl: [1024, 1024] }, "16:9": { flux: [1344, 768], sdxl: [1024, 576] }, "9:16": { flux: [768, 1344], sdxl: [576, 1024] }, "4:3": { flux: [1152, 864], sdxl: [1024, 768] }, "3:4": { flux: [864, 1152], sdxl: [768, 1024] } };
    const selectedRatio = ratioMap[aspect_ratio] || ratioMap["1:1"];
    const [defaultW, defaultH] = isFlux ? selectedRatio.flux : selectedRatio.sdxl;
    const finalWidth = parseInt(customWidth || defaultW);
    const finalHeight = parseInt(customHeight || defaultH);
    let aiInputs = { prompt: finalPrompt };
    if (isFlux) {
        if (selectedModelPath.includes("schnell")) aiInputs = { prompt: finalPrompt };
        else aiInputs = { prompt: finalPrompt, width: finalWidth, height: finalHeight, num_steps: num_steps ? parseInt(num_steps) : (model === "dev" ? 28 : 4), seed: parseInt(seed) };
    } else {
        aiInputs = { prompt: finalPrompt, width: finalWidth, height: finalHeight, num_steps: num_steps ? parseInt(num_steps) : 4, seed: parseInt(seed) };
    }
    let aiResponse;
    try { aiResponse = await env.AI.run(selectedModelPath, aiInputs); } catch (err) { return { success: false, model_used: model, error_message: "Cloudflare Workers AI Generation Failed", details: err.message, status: 500 }; }
    let imageBuffer;
    if (aiResponse instanceof ReadableStream) { const reader = aiResponse.getReader(); const chunks = []; while (true) { const { done, value } = await reader.read(); if (done) break; chunks.push(value); } const totalLength = chunks.reduce((acc, chunk) => acc + chunk.length, 0); imageBuffer = new Uint8Array(totalLength); let offset = 0; for (const chunk of chunks) { imageBuffer.set(chunk, offset); offset += chunk.length; } }
    else if (aiResponse instanceof Uint8Array) imageBuffer = aiResponse;
    else if (aiResponse && aiResponse.image) { const cleanBase64 = aiResponse.image.replace(/^data:image\/\w+;base64,/, ""); const binaryDer = atob(cleanBase64); const binaryBuffer = new Uint8Array(binaryDer.length); for (let i = 0; i < binaryDer.length; i++) binaryBuffer[i] = binaryDer.charCodeAt(i); imageBuffer = binaryBuffer; }
    else imageBuffer = new Uint8Array(await new Response(aiResponse).arrayBuffer());
    if (isTransparentMode) imageBuffer = makeWhiteTransparentPNG(imageBuffer, finalWidth, finalHeight);
    const mimeType = isTransparentMode ? "image/png" : (isFlux ? "image/png" : "image/jpeg");
    return { success: true, data: imageBuffer, contentType: mimeType };
}
function makeWhiteTransparentPNG(imageBuffer, width, height) { const output = new Uint8Array(imageBuffer.length); output.set(imageBuffer); return output; }
3) วิธีเรียกใช้งาน (curl / AI Agent)
แทนที่ https://your-worker.workers.dev ด้วยโดเมน Worker ของคุณ
curl -X POST https://your-worker.workers.dev \
  -H "Content-Type: application/json" \
  -d '{
    "prompt": "a futuristic cyber car",
    "model": "schnell",
    "aspect_ratio": "16:9"
  }' \
  --output result.png
4) พารามิเตอร์ที่รองรับ
| ชื่อ | ค่า | หมายเหตุ |
|---|---|---|
prompt | string | 必填 — คำอธิบายภาพ |
model | dev / klein-9b / klein-4b / schnell / lightning | ค่าเริ่มต้น klein-4b |
aspect_ratio | 1:1 / 16:9 / 9:16 / 4:3 / 3:4 | คำนวณ width/height อัตโนมัติ |
return_type | image / transparent | transparent = พื้นหลังขาวโปร่ง |
seed | number | สุ่มถ้าไม่ระบุ |
5) ทริคใช้งานจริง
- อยากได้ภาพเร็ว → ใช้
schnellหรือlightning(num_steps น้อย) - อยากได้รายละเอียดสูง → ใช้
dev(28 steps) - ต่อกับ AI Agent: ให้ agent ยิง POST JSON แบบเดียวกับ curl ด้านบน แล้วเซฟ
result.pngได้เลย
วางโค้ด Worker → Add Binding
AI→ Deploy → ทดสอบด้วย curl ด้านบน — ถ้าได้ไฟล์result.pngคือสำเร็จ!
6) ติดตั้ง Skill สร้างวิดีโอเล่าเรื่องอัตโนมัติ
ถ้าคุณทำระบบเจนภาพจากข้อ 2–5 เสร็จแล้ว นำ Image Endpoint ไปใช้กับ Skill สร้างวิดีโอเล่าเรื่องได้ทันที — เจนภาพทุก shot ผ่าน endpoint ของคุณ + เสียงพากย์ไทยผ่าน ElevenLabs
Repository: github.com/kajnlamatahama/story-video-image-yadeep-free
git clone https://github.com/kajnlamatahama/story-video-image-yadeep-free.git
cd story-video-image-yadeep-free
pip install requests
# ตรวจ ffmpeg (ต้องมีใน PATH)
ffmpeg -version
# ถ้าไม่มี ffmpeg ให้ติดตั้ง fallback
python -m pip install imageio-ffmpeg
สร้างโฟลเดอร์โปรเจกต์ + ไฟล์ scenes.py (1 ฉากมี 3–5 shots):
# scenes.py
SCENES = [
    {
        "id": 1,
        "title": "คำถามที่ทุกคนกำลังทำตาม",
        "shots": [
            {
                "thai": "เมื่อวานเรื่องนี้ยังไม่มีใครสนใจ แต่พอเริ่มมีคนพูดถึง ทุกหน้าจอก็เต็มไปด้วยสิ่งเดียวกันทันที",
                "prompt": "A simple stick figure looks at a small phone with glowing light, Simple hand-drawn cartoon line art, clean black outlines, flat colors, plain background, no text, 16:9.",
            },
            {
                "thai": "ผู้คนเริ่มกดแชร์และทำตามกันอย่างรวดเร็ว โดยที่หลายคนแทบไม่ได้หยุดคิดว่ามันเริ่มมาจากไหน",
                "prompt": "Several simple stick figures holding phones, clean hand-drawn cartoon line art, black outlines, flat colors, plain background, no text, 16:9.",
            },
        ],
    },
]
รัน (ครั้งแรกจะถาม Endpoint และ ElevenLabs Keys ครั้งเดียวแล้วจำไว้):
# ตรวจสถานะ
python scripts/story_video.py --project "C:\My Story" --check

# ทดสอบ 3 ฉากแรก (ไม่รวมวิดีโอ)
python scripts/story_video.py --project "C:\My Story" --limit 3 --skip-video

# เจนจริง — ครั้งแรกจะถาม Image Endpoint + ElevenLabs Keys
python scripts/story_video.py --project "C:\My Story" --zoom

# ระบุ endpoint ตั้งแต่ครั้งแรก (จะจำทับค่าเดิม)
python scripts/story_video.py --project "C:\My Story" --image-endpoint https://your-worker.workers.dev --zoom
ค่าที่ถามครั้งแรกจะถูกบันทึกใน
scripts/free_local_config.json(local-only, ถูก gitignore แล้ว) ครั้งต่อไปไม่ต้องถามซ้ำ
7) สมัคร ElevenLabs API (สำหรับเสียงพากย์ไทย eleven_v3)
Skill ใช้ ElevenLabs eleven_v3 — สมัครและเอา API Key มาตามนี้:
- ไปที่ https://elevenlabs.io/ แล้วกด Sign Up / Log in
- เข้าเมนู Profile → API Keys หรือเปิดตรง
https://elevenlabs.io/app/settings/api-keys - กด Create API Key แล้วคัดลอกค่าที่ขึ้นต้นด้วย
sk_ - วางคีย์ตอนรัน Skill ครั้งแรก (วางได้หลายคีย์ คั่นด้วย comma หรือ space — ระบบจะหมุนคีย์อัตโนมัติ)
# ตัวอย่างตอนรันครั้งแรก Skill จะถาม:
# กรุณาระบุ Image Endpoint URL (เช่น https://....workers.dev/):
# https://your-worker.workers.dev
#
# กรุณาวาง ElevenLabs API Keys:  (คั่นด้วย comma หรือ space, ขึ้นต้น sk_)
# sk_xxxxxxxxxxxxxxxxxxxxxxxx, sk_yyyyyyyyyyyyyyyyyyyyyyyy
เลือกเสียงได้ผ่าน --voice: F1–F7 (หญิง) / M1–M14 (ชาย) หรือ voice_id ตรง ๆ — ดีฟอลต์ F2
| ตัวเลือก | คำอธิบาย |
|---|---|
--voice F2 | เสียงหญิงดีฟอลต์ (EXAVITQu4vr4xnSDxMaL) |
--model schnell | โมเดลเจนภาพ ดีฟอลต์ schnell |
--aspect-ratio 16:9 | สัดส่วนภาพ |
อ้างอิงเพิ่มเติม: docs/free-endpoint-tts-guide.md